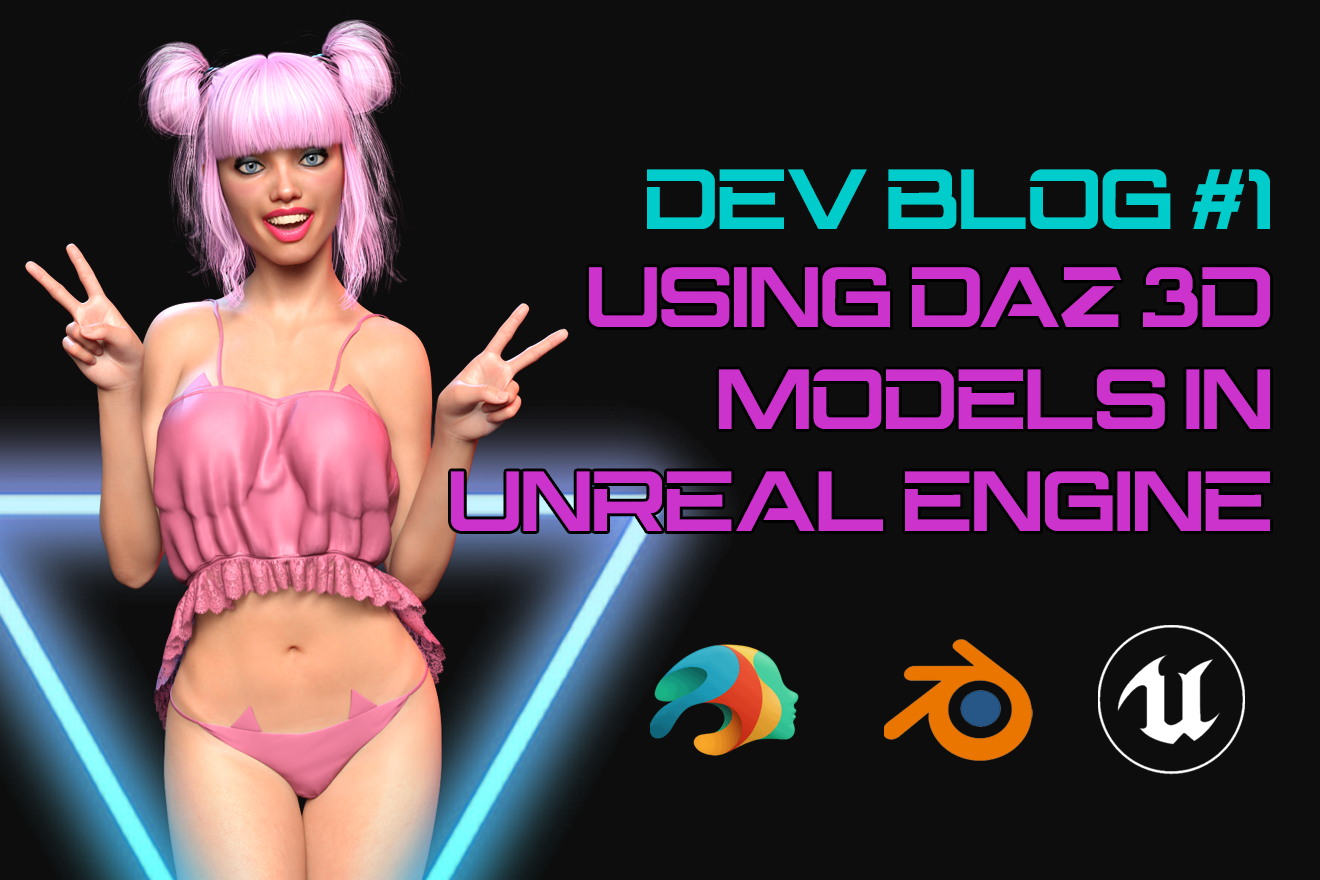
Dev Blog #1: Daz3D Models in Unreal Engine
Welcome to the first official dev blog for 3XO! We’re excited to give you a behind-the-scenes look at the technical process that goes into creating the stunning, lifelike avatars that will populate the world of 3XO. In this post, we’ll be diving deep into the workflow we use to import models from Daz 3D into Unreal Engine 5 (UE5). This process is crucial for ensuring that our characters not only look great but also function smoothly within the game.
There are a number of common and popular methods for bringing Daz 3D models into Unreal Engine, such as the official "Daz to UE Bridge". But these methods are simply not good enough or optimized enough for an actual, production-ready video game. So at Black Lotus, we've design a custom workflow that uses Blender to optimize the Daz models enough to actually use them in UE5.
We’ll cover each step of the journey, starting in Daz 3D, moving through Blender for some essential modifications, and finally landing in Unreal Engine 5. The tools we’ll be discussing include Daz Studio for model creation, Diffeomorphic for seamless importing, Blender for material and mesh adjustments, and Unreal Engine 5 for the final integration into our game. We won't go over the installation instructions for those tools in this post, as none of it is complicated, so get those tools installed and then continue with this tutorial.
Let's get started!

Daz 3D
The process begins in Daz 3D, where we set up our base models that will eventually be brought into UE5. We'll be setting up a few different models - our Skeleton which has all the genitalia options, our Base figure which has no genitalia, and then one model for each of the two sets of genitalia. Here’s how it works:
Step 1: Load Genesis 9 Figure
Start by loading the Genesis 9 figure into the scene, which will serve as the base for your character.
Step 2: Remove G9 Tear
Eliminate the G9 Tear to avoid unnecessary geometry during export. Simply right-click it and delete it.
Step 3: Add Genitalia
Depending on the character’s design, add the appropriate genitalia options. We recommend the Dicktator and Golden Palace products for Daz 3D. As we're using Genesis 9, which is a gender-neutral figure, we're going to add both sets of genitalia to our Skeleton figure. When we repeat these Daz 3D steps for the Base figure, we'll skip this step entirely. When we repeat these Daz 3D steps for the two Genitalia figures, we'll only apply the appropriate genitalia. Ensure that the skeleton is fully integrated by setting the correct shapes for what you want the default genitalia shapes to look like.
Step 4: Export via Diffeomorphic
Use the Diffeomorphic Daz Importer (Diffeo) to export the figure, preserving the model’s morphs and textures for later use in Blender. Do NOT use the HD export option.

Blender
Once your model is exported from Daz 3D, the next stop is Blender. This is where we fine-tune the materials, meshes, and overall structure to ensure the model is ready for Unreal Engine 5.
Importing the Model
Step 1: Import to Blender
In Blender, hit N to bring up your Tools, then select the Daz Setup tab, finally click Easy Import DAZ. Using Diffeomorphic's Easy Import feature, import your Skeleton, and either your Base figure or one of your two Genitalia figures. When importing, use the following settings:
- Mesh Fitting: DBZ File (Characters)
- Material Method: Extended Principled
- The following options should be checked:
- Merge Materials
- Eliminate Empties
- Merge Rigs
- Create Duplicate Bones - NOT checked
- Convert To Widgets - NOT checked
- Apply Transforms
- Transfer to Face Meshes
- Transfer to Geografts
- Transfer to Clothes
- Everything else should be unchecked
Step 2: Change Armature
Next, we're going to change the armature for our Base or Genitalia figure to use the armature of the Skeleton figure.
- Click on the Base or Genitalia figure, then hold CTRL and click on the Skeleton figure. The Skeleton figure should be highlighted in yellow.
- Next, go back to the Diffeomorphic options (hit N to bring up Tools, then click the Daz Setup tab), and expand the Corrections section.
- Click the button that says Change Armature.
Step 3: Remove Subsurface Modifiers
Next, we're going to remove the Subsurface Modifiers. These modifiers "split" the mesh into smaller sections to make it more high-resolution. We don't want this, as it impacts performance too much. So let's remove them!
- Select the Genesis 9 Mesh of your Base or Genitalia figure.
- Go to the Modifiers tab (wrench icon).
- Delete the Subsurf modifier (just hit the little "X" button).
- Repeat this for ALL meshes that have a Subsurf modifier (eyelashes, eyes, mesh, and mouth).
Step 4: Add Basis Shape Keys
Finally, we need to add some Basis shape keys. This is required so that we can import other morphs. Without having an initial Basis shape key, importing other morphs would give an error.
- Select the Genesis 9 Mesh of your Base or Genitalia figure.
- Go to the Data tab (green icon).
- In the Shape Keys section, which should be empty, hit the + button which should add a new shape key named "Basis".
- Repeat for all meshes.
UDIM Materials
Now let's setup some UDIM materials. This will combine all of the various material slots into a "tiled" approach, letting us use a single image file with tiles for the torso, arms, legs, etc. This will use a little bit more virtual memory, but it will reduce the number of material draw calls within UE, which really helps with performance.
Step 1: Save
First, we need to save our Blender file. I don't know why, but this is required. Go to File > Save as and name it whatever you want.
Step 2: Creating UDIM Materials
With your Base or Genitalia figure and the Genesis 9 Mesh selected, go to the Diffeomorphic tab (hit N to bring up Tools, then click Daz Setup). Then under the Finishing section, click Make UDIM Materials. Use the following settings:
- Save Local Textures: Checked
- Fix Textures: Checked
- Merge Materials: Checked
- Stack Shells: Checked
- Active: Head
- Select everything
- Click "OK"
Step 3: Rename Head to Skin
Just to make things a bit easier for us going forward, let's rename that "Head" material to "Skin". Just double-click it and type "Skin".
Other Materials
Now that our UDIM materials are setup, let's combine the other materials to further reduce the number of separate material draw calls when we get to UE5.
Step 1: Eyebrows
- Select the G9 Eyebrows Card Style mesh, then go to the Material tab (red circular icon).
- Go into Edit Mode (hit TAB).
- Deselect everything.
- Click on "Eyebrows_Primary-1", then click the "Select" button.
- Click on "Eyebrows_Secondary-1", then click the "Select" button. Both materials should now be selected.
- Click on "Eyebrows_Primary-1" again, now click the "Assign" button.
- Delete the "Eyebrows_Secondary-1" material and rename "Eyebrows_Primary-1" to simply "Eyebrows".
Step 2: Mouth
Repeat the steps for Eyebrows, but this time using the Genesis 9 Mouth mesh. Combine the "Mouth" and "Teeth" materials into a single material.
Step 3: Eyes
These steps are different, so follow closely.
- Select the Genesis 9 Eyes mesh, then go to the Material tab (red circular icon).
- Go into Edit Mode (hit TAB).
- Add a NEW material, name it "Eye_R".
- Go to the Data tab (green icon).
- Deselect everything.
- Click the "r_eye" vertex group, then click the "Select" button.
- Go back to the Material tab.
- Click on the "EyeMoisture Left-1" material, then click the "Deselect" button.
- Click on the newly created "Eye_R" material, then click the "Assign" button.
- Deselect everything.
- Click on the "EyeMoisture Left-1" material, then click the "Select" button.
- Delete the vertices - hit X and click "Vertices".
- Delete the "EyeMoisture Left-1" material, then rename "Eye Left" to "Eye_L".
Merge Geografts & Meshes
Now we're ready to merge our geografts and meshes into a single mesh, further improving performance.
Step 1: Merge Geografts
This step is only for the Genitalia figures. If you're not using genitalia, or are working on your Base figure, then ignore this step.
- First, make sure you've combined all of the materials on the meshes of your Genitalia figure.
- Make sure the "Basis" shape key is selected/highlighted on both your Genesis 9 Mesh and your Genitalia meshes.
- Click on the Genitalia mesh, then hold CTRL and click on the Genesis 9 Mesh. The Genesis 9 Mesh should be highlighted in yellow.
- Go to the Diffeomorphic tab (hit N to bring up Tools, then click DAZ Setup).
- Expand the Finishing section.
- Click the Merge Geografts button. Use the following settings:
- SubD Displacement: Checked
- Fix UV Tiles: Checked
- Merge UV Layers: Checked
- Everything else: Unchecked
And voila! Your genitalia geografts should now be merged into the main body mesh.
Step 2: Merge Meshes
This step is for both the Base and Genitalia figures.
Now let's combine all of our meshes into a single mesh.
- First, ensure all of your materials are properly combined on all of your meshes.
- Make sure the "Basis" shape key is selected/highlighted on all of your meshes.
- Click on the G9 Eyebrows Card Style mesh, then hold CTRL and click on the Genesis 9 Mesh. The Genesis 9 Mesh should be highlighted in yellow.
- Go to the Diffeomorphic tab (hit N to bring up Tools, then click DAZ Setup).
- Expand the Finishing section.
- Click the Merge Meshes button. Use the following settings:
- Merge UV Layers: Checked
- Allow Overlap: Unchecked
And voila! Your eyebrows should now be merged into the main body mesh. Repeat these steps for the Eyelashes, Eyes, and Mouth meshes, combining everything into the main body mesh.
Scaling
Before we can export our model to Unreal Engine, we first have to fix the scaling in Blender.
- Select ALL meshes and your Skeleton armature.
- Press S to bring up the Scaling tool, then drag it to wherever and click your mouse button.
- In the bottom left of the window, expand that box that says "Resize".
- Set the Scale X, Y, and Z values to 100. Leave the Orientation set to "Global".
- Press CTRL + A and click Scale to apply the scaling.
Export
We are finally ready to export the model out of Blender! First, select the Genesis 9 Mesh and your Skeleton armature. Then go to File > Export > FBX. Use the following settings:
- Include
- Limit To: Selected Objects
- Object Types: Armature, Mesh
- Transform
- Scale: 0.01
- Apply Scalings: All Local
- Forward: -Z Forward
- Up: Y Up
- Apply Unit: Checked
- Use Space Transform: Checked
- Geometry
- Nothing Checked
- Smoothing: Face
- Armature
- Nothing Checked
- Bake Animation: Unchecked
Hit the Export FBX button and that's it! We're now ready to move to Unreal Engine!

Unreal Engine
The final step in this workflow is importing the model into Unreal Engine 5, where it will be integrated into the game.
Step 1: Importing the Model
Let's bring our FBX file into UE5, ensuring that the skeleton is set correctly and all mesh and morph settings are preserved.
Find your FBX file for your Base figure (or a Genitalia figure, doesn't matter). Import it into Unreal Engine with the following settings:
- Skeletal Mesh: Checked
- Import Mesh: Checked
- Skeleton: None (if repeating this step for another figure, select the previously imported skeleton)
- Preserve Smoothing Groups: Checked
- Import Meshes in Bone Hierarchy: Checked
- Import Morph Targets: Checked
- Normal Import Method: Compute Normals
- Normal Generation Method: Mikk TSpace
- Compute Weighted Normals: Checked
- Create Physics Asset: Unchecked (we're not covering Physics in this tutorial)
This should import your model with the following material slots: Skin, Eyebrows, Eyelashes, Eye_L, Eye_R, Mouth, and the Genitalia materials.
Step 2: Materials
Now let's add the textures to our materials.
First, we need to find the source folder for our DAZ 3D textures. We use a very unique organization structure for our DAZ asset library, so we can't tell you where your Daz files are installed. But Diffeomorphic should have saved your textures to a folder in a previous step, so you can use that. Locate the textures for the Arms, Head, Legs, Torso, and Mouth.
Rename those texture files to the Tile Number by naming each file the same exact name (such as "T_Skin_Michael_D") and append the tile number to the end with a dot, like so:
- Head - T_Skin_Michael_D.1001
- Torso - T_Skin_Michael_D.1002
- Legs - T_Skin_Michael_D.1003
- Arms - T_Skin_Michael_D.1004
- Fingernails - T_Skin_Michael_D.1005
Repeat this for the Normal and Roughness textures (T_Skin_Michael_N.#### and T_Skin_Michael_R.####).
Drag the first image (.1001) into UE. It will automatically import the other files and create a UDIM tiled texture. Make sure "Virtual Texture Support" is enabled in your Unreal Engine settings. Do the same for the Normal and Roughness maps.
We won't go into the material setup in this guide, but at least you can now select these UDIM tiled textures to use in your Skin material.
Step 3: Character Blueprint
The final step is to setup a Character Blueprint and add all the meshes to it to create a single, unified character.
First, create a new Character Blueprint. Then add the Body mesh to the Capsule Component. Then add all of your other meshes (hair, clothes, etc. which are not covered in this guide) underneath that Body mesh. You might need to fix the position and rotation of some meshes.
Next, we're going to create a Construction Script. Add the Set Leader Pose Component node into the Construction Script BP tab. Set the Body mesh as the New Leader Bone Component. Finally, set all of your other meshes you have as the Target. This should make all of your meshes auto-follow/morph/animate with the main Body mesh.
And that's it! You now have a working DAZ 3D character model inside Unreal Engine 5, and it's much more optimized than using any of the other popular methods.
There's still many more things you can do with your model, such as creating a nice skin material, adding hair or clothing, and of course adding all the tons of morphs/shapes that Daz 3D includes. However, those things are outside the scope of this tutorial. If there's enough interest, we'd be happy to write a future dev blog covering those topics!
There are also some other tools that are design to bring Daz 3D models into UE5, such as Reallusion's Character Creator software and a Houdini plugin. But we haven't tried those methods yet, because we're pretty happy with our Blender workflow. But if anyone has experience with these tools and would like to tell us more about them, we'd love to hear from you!